Magento Configuration
Magento Configuration
Assuming that the OrderFlow Magento extension has been installed successfully, we now need to configure it to work with OrderFlow.
Note that there is also some configuration required on the OrderFlow side, which we cover in the OrderFlow Configuration chapter.
Navigate to Stores -> Configuration on the Magento Admin Panel.
You should also be able to see OrderFlow in the Configuration menu, as shown in the screenshot below.
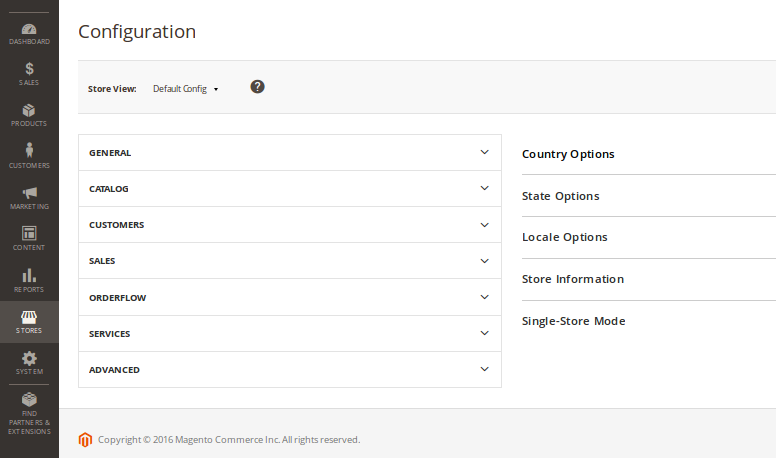
OrderFlow Configuration
Click on OrderFlow and the module configuration sub menu will appear.

API Settings
These are the main settings for connecting to the OrderFlow instance. The correct values for these will be depend on the configuration of the target OrderFlow environment, and will be set with the help of OrderFlow support.
Endpoint: This is the base OrderFlow API URL to which the extension will send messages. Note that this needs to include the server and 'context path' portion of the URL.
An example base URL would be https://demo.orderflow-wms.co.uk/web/.
Username: The OrderFlow user configured to receive API requests from the Magento extension.
Password: The password for the above user.
Organisation: The configured OrderFlow organisation to which API requests relate. Must correspond with the identifier for an organisation within OrderFlow to which the above named user has access.
Channel: The configured OrderFlow sales channel to which API requests relate. Note that in OrderFlow, channels belong to organisations, so this channel needs to be one which belongs to the organisation named above. Again, the value supplied must correspond with the identifier for a channel within OrderFlow to which the above named user has access.
The channel may already be set up in OrderFlow, otherwise it can be entered here and subsequently created in OrderFlow. By convention this channel is usually named magento.
Email Settings
Admin Name: The name of the administrator responsible for the installation.
Admin Email: The address for email alerts.
Order Export
The settings for the export of orders from Magento to OrderFlow are supplied here. Once orders have been invoiced in Magento, they are eligible for export to OrderFlow. Orders can be exported manually, but more typically orders will be exported automatically based on the schedule configuration in this section.
Enabled: Needs to be set for export of orders to take place.
Cron Expression: Controls the frequency of the automatic order export. An order will be exported if it is eligible for exporting, and has not already been exported. It is not necessary to set this too frequently - once every few minutes should be more than adequate.
Batch Size: Determines the maximum number of orders that will be exported each time the schedule runs.
Product Export
This controls behaviour of the export of product definitions from Magento to OrderFlow.
Enabled: Needs to be set for export of product definitions to take place. If enabled, then any change to a product definition will result in an update being sent to OrderFlow. Additionally, if enabled, an option will be present on the Catalog -> Manage Products grid to manually export to OrderFlow the definitions for selected products.
Include Image Field: Magento can include a product image (or a default image) when exporting a product or products to OrderFlow. This field either enables or disables including an image. Note that if this option is set, then if there is no product image AND no default Magento image specified, the export will fail. If the value is set to Yes, then confirm there is a default Magento image available in System > Configuration > Catalog > Product Image Placeholders, where you can upload a default image.
Cron Expression: controls the frequency of checks for updated products. Each time the cron expression is run, then up to a configured maximum number of new or updated product definitions are sent to OrderFlow. The configured maximum is controlled by the Batch Size.
Inventory Import
The inventory import is initiated by OrderFlow to send product inventory quantities to Magento.
For performance reasons, stock updates are not applied immediately. Instead, the requests are queued by the Magento extension, and applied via a Magento cron job.
The settings on this screen control the timing of these schedules, as well as the number of stock updates applied per schedule execution.
Enabled: Needs to be set to allow the import of inventory updates to take place.
Cron Expression: Determines the run frequency of the job to apply stock updates following requests received from OrderFlow.
Batch Size: Determines the maximum number of stock update requests that can be processed each time the inventory import job runs.
Allow Negative Quantities: Determines whether negative inventory quantities can be applied. An inventory level will be negative on OrderFlow for example when orders have been received for a product but there is no stock present for that product. Magento won't allow negative numbers to be applied, so if set to true, the extension will simply convert negative values received from OrderFlow to zero. The value for this field should be set to 'Yes'.
Shipment Import
The shipment import is initiated by OrderFlow when an order is despatched or part despatched, resulting in the creation of a shipment against the order in Magento.
As with the inventory imports, the shipment creation does not take place immediately; the request for shipment creation are queued, and applied when the shipment import schedule job executes.
The settings on this screen controls the execution of this scheduled job.
Enabled: Needs to be 'Yes' for the shipment import to take place.
Cron Expression: Determines the run frequency of the job to create shipments in Magento following the despatch of shipments in OrderFlow.
Batch Size: Determines the maximum number of shipments created in Magento each time the scheduled job runs.
Log Cleaning
The extension produces a significant amount of log and management data that is used both for the functioning of the module as well as being helpful for verification. The log cleaning options ensure that the volume log data that the extension generates is kept manageable, and does not grow indefinitely.
Cron Expression: The cron expression that controls the frequency of log cleaning operations. Daily running of the log cleaning operations is sufficient.
Web Log Duration: The period for which records generated by the extension will be retained in the Magento var/log directory.
XML Log Duration: The length of time for which request and response XML will be stored.
Admin Information
This option should be left enabled.
Web Services Configuration
OrderFlow uses the SOAP web services to communicate with the Magento extension. Configuration is required on the Magento side to enable the relevant web services.
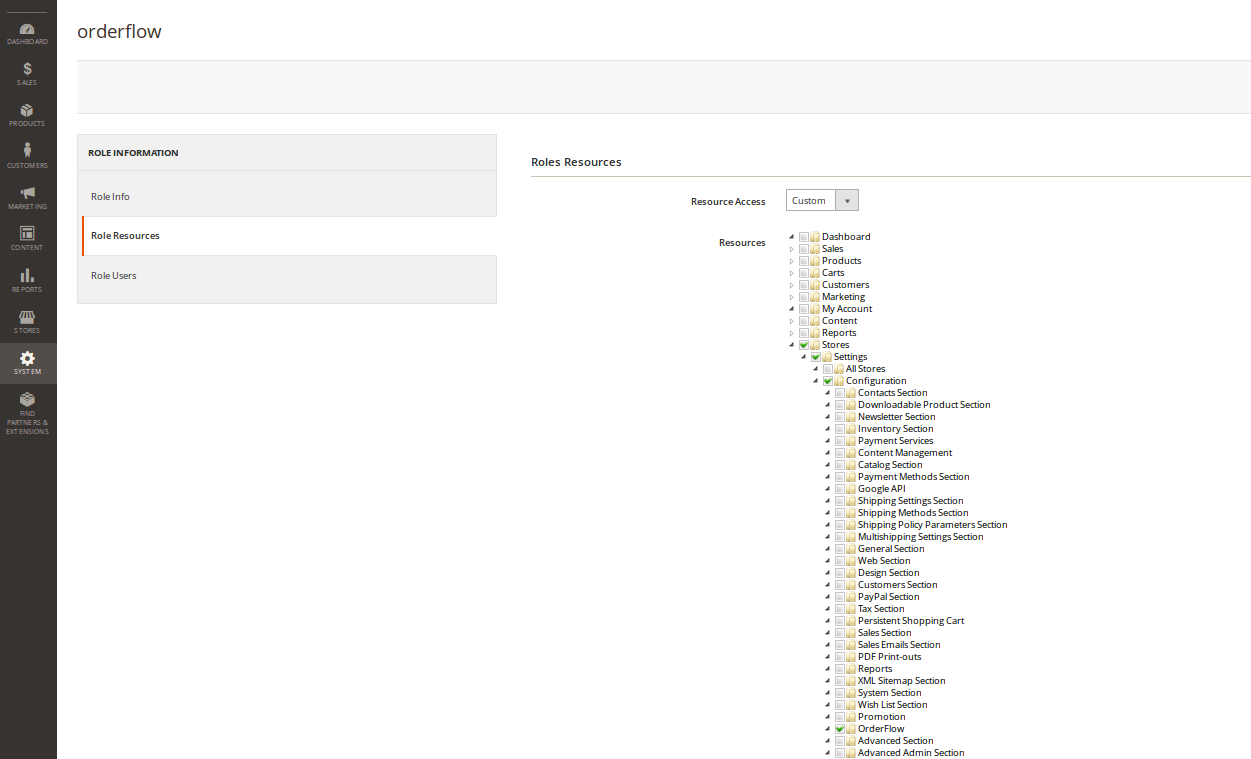
A valid enabled Web Services User associated with an applicable Role must be in place for the extension to work. To create a Web Services User, first create an applicable role via the System > User Roles menu.
By convention, we typically use the name orderflow for the OrderFlow Magento extension Role created in this way.
From the Role Resources submenu, the minimal custom resource access required is for the 'OrderFlow Import' resource, as shown below:
You can then create a User via System > All Users > Add New User.
Enter a value for the required fields, and ensure that the account is active.
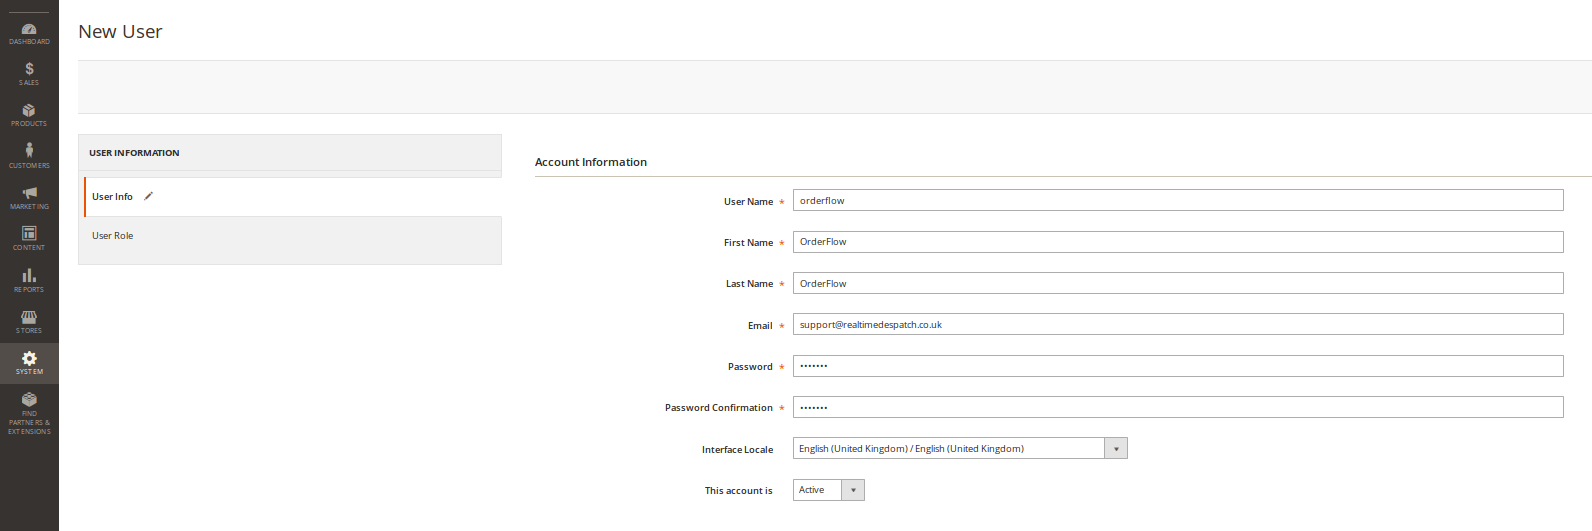
By convention, we typically use the name orderflow for the OrderFlow Magento extension user created in this way.
Make a note of the Password for the user, as this will be required when setting the relevant password when configuring OrderFlow.
You will then need to associate the user with the role created above in order to give the user access to the extension resource.